0
Your cart
Cart
Delivery
Payment
Your cart is empty.
Please go to Shop Now
Product Price Quantity Subtotal

Billing details

Additional information

Contact

Shipping address

Order Summary

Payment Method

Your personal data will be used to process your order, support your experience throughout this website, and for other purposes described in our privacy policy.

Product info

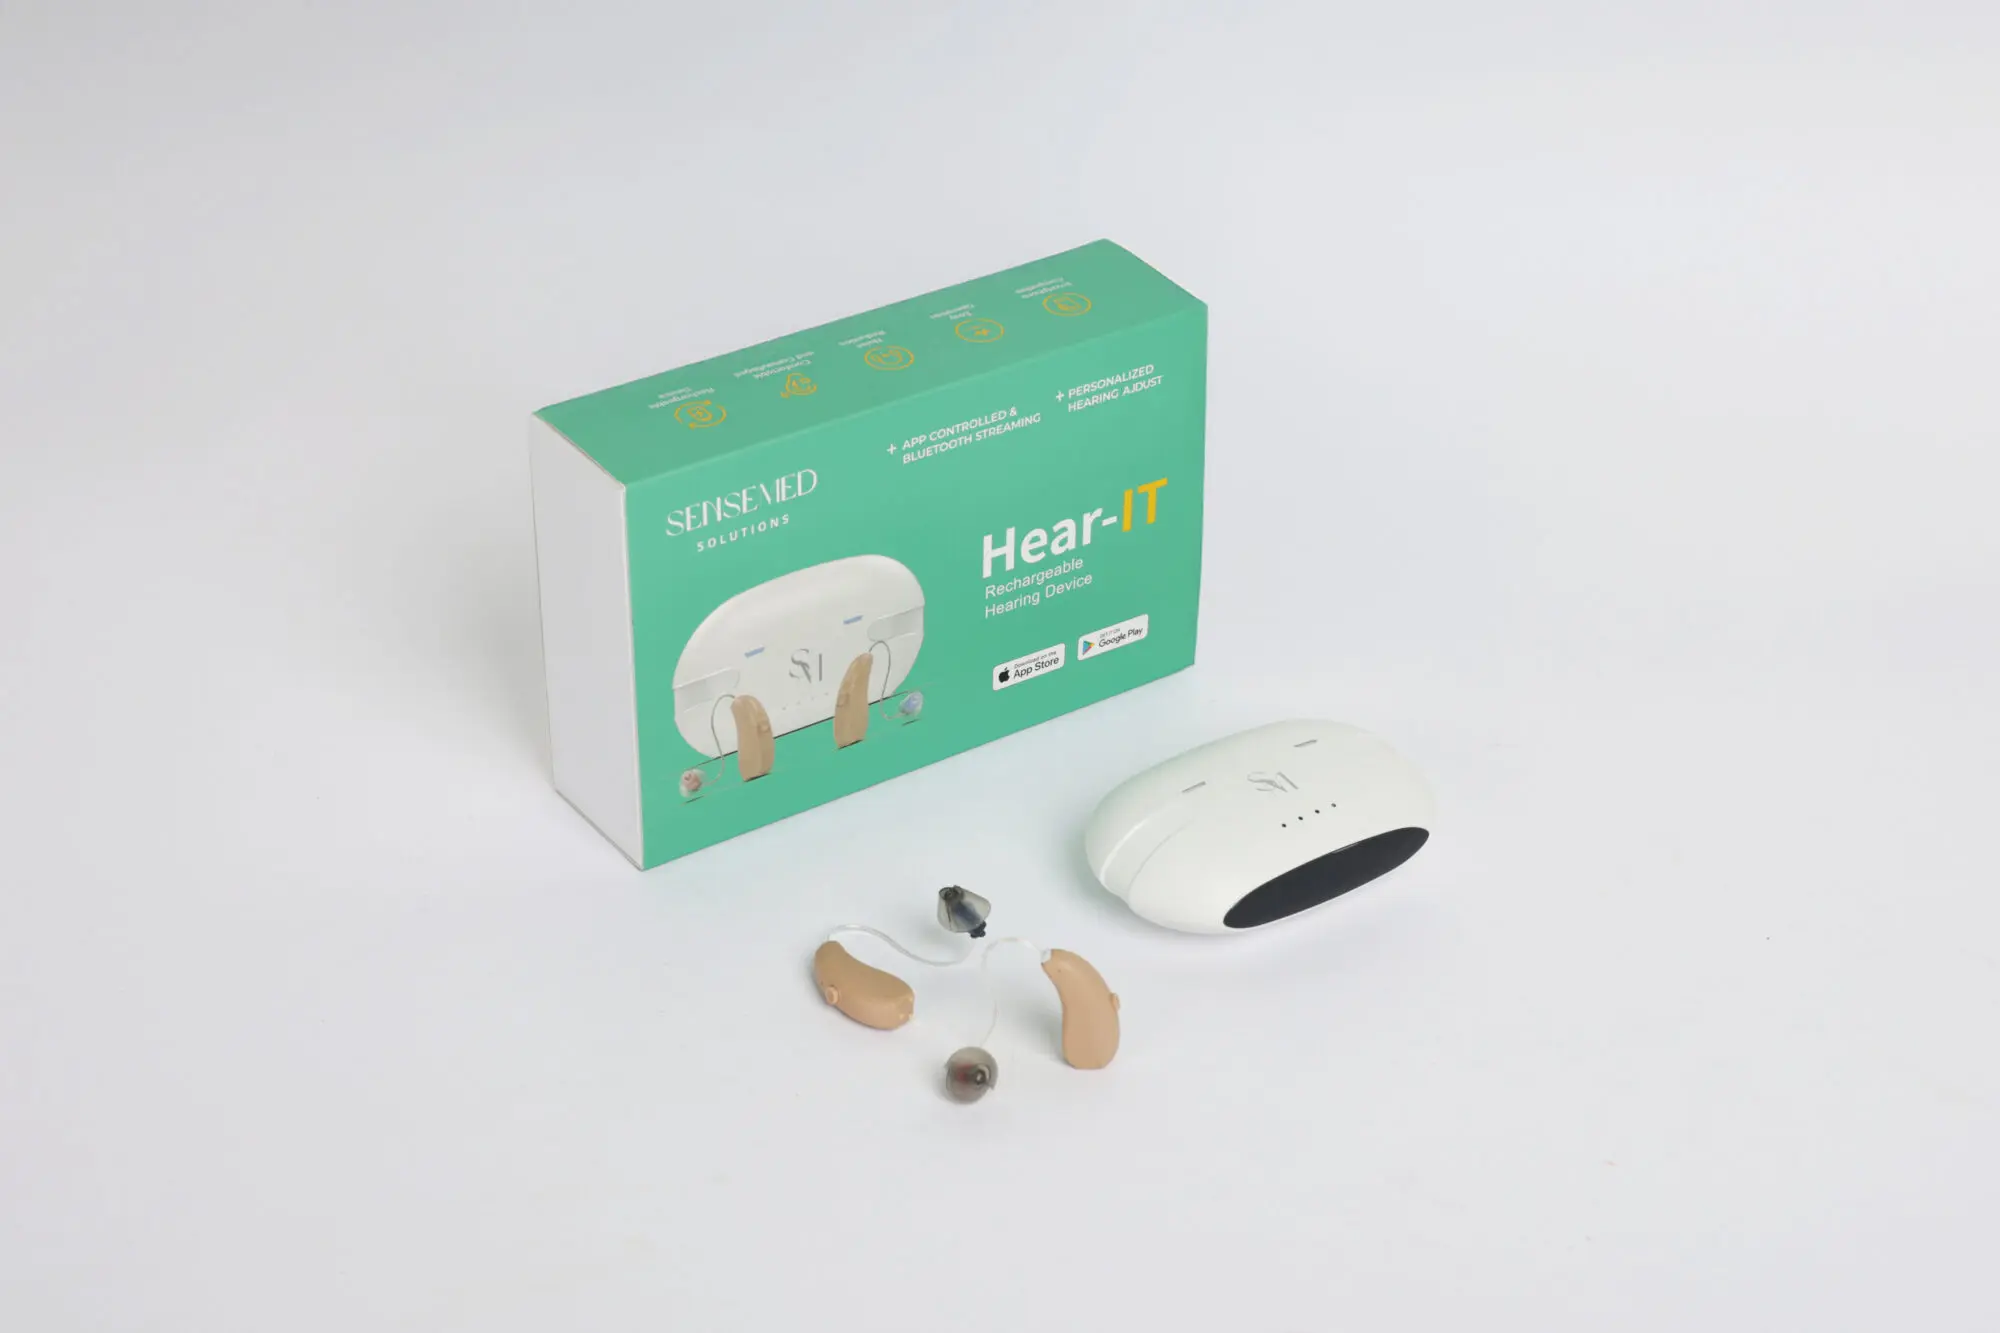
Internal Parts of Hear-IT

  1. Microphone: Picks up sound waves, converts them into electrical signals and sends them to the amplifier.
  2. Amplifier: Converts sound into an electrical signal and sends it to a receiver/speaker. Increases the power of the electrical signals to make the sound louder.
  3. Signal Processor: Analyzes and improves the sound signals. Distinguish between speech and background noise, making it easier for the user to understand conversation in noisy environments.
  4. Speaker or Earpiece: Delivers the amplified sound to the user’s ear.
  5. Battery: Powers the hearing amplifier (rechargeable)

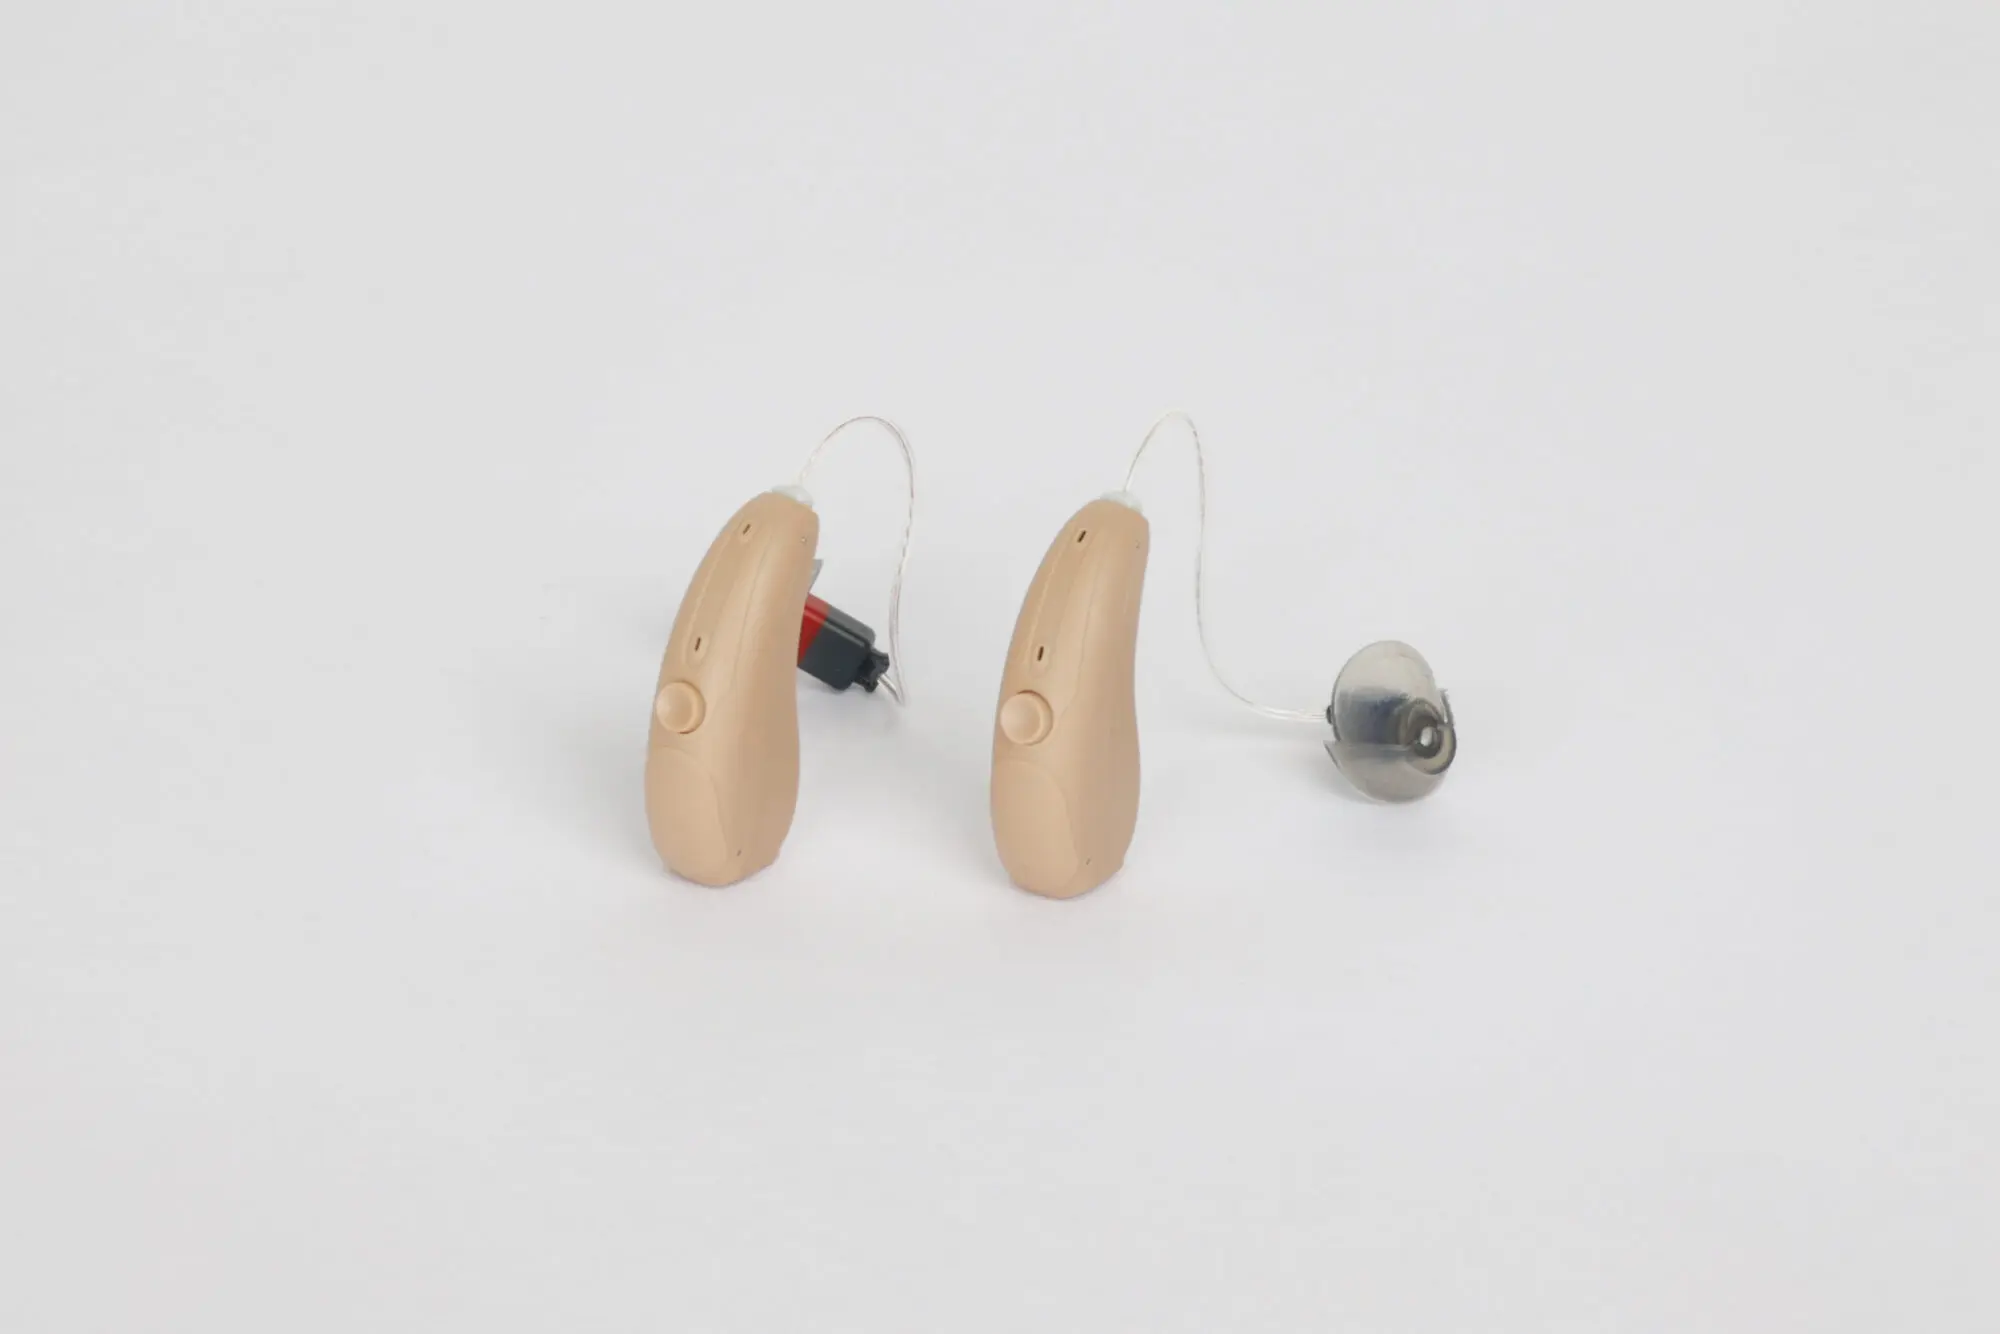
External Parts of Hear-IT

  1. Body cover or casing: All the internal parts are contained within the hard plastic Hear-IT body.
  2. Multi-function button: This makes it easy for the user to control the hearing device. User can use it to adjust the volume of the sound, switching mode and power on/off the device.
  3. Charging contacts: contact point to be placed inside the charging case for charging.
  1. External receiver: Gathers electrical signals from the amplifier and converts them back into sound.
  2. Ear domes: Domes are also called earbuds. They deliver sound from the device into the ear canal. They are small, soft caps and secure fit. They ensure optimal sound delivery and prevents feedback.

Quick Start Guide

Left hearing device is blue in colour, right hearing device is red in colour. Each hearing device is programmable to suit each ear and may be tuned differently for each ear. Therefore, they should not be swapped.
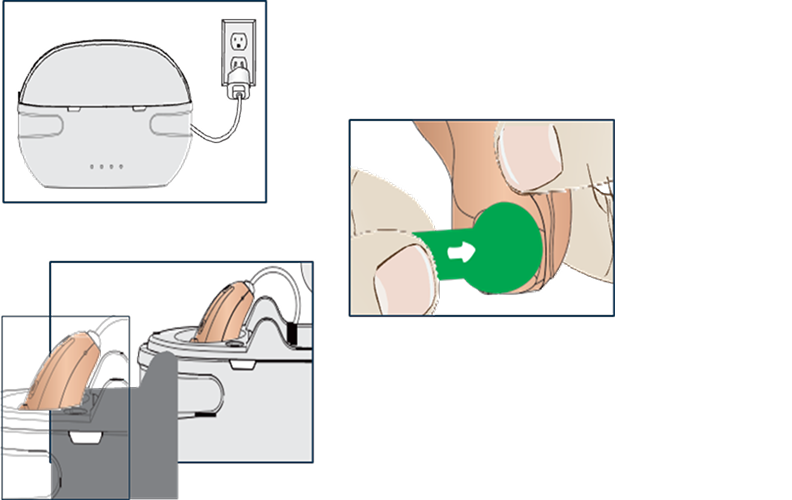
Charging The Device

Note: Fully charge the hearing device prior to first use.

  • Plug the charging case and USB cord into a standard outlet. When the charging case is charged, the white light flashes. When fully charged, all four lights are turned on.
  • Important instructions for first use: Before charging for the first time, remove the green insulation sticker from the charging contacts of the hearing device.
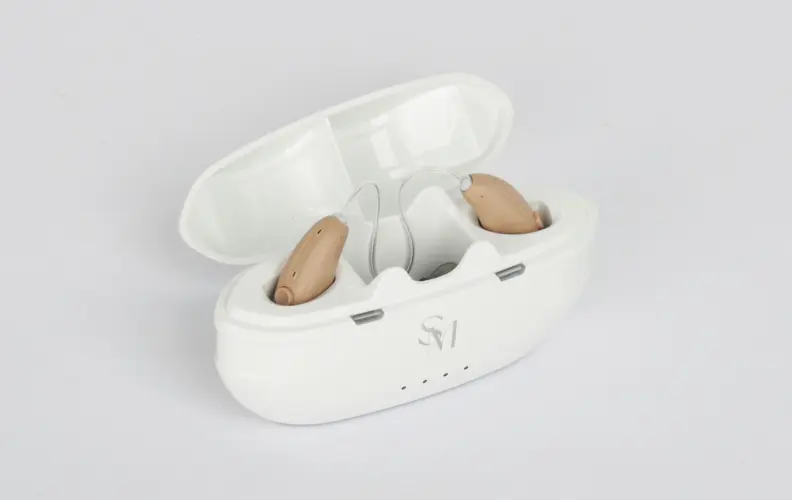
  • Place the hearing device in the charger. The left device (blue) should be placed in the left side slot of the charger, and the right device (red) in the right slot side.

How To Replace The Earwax Guard

The wax guard filter net is located in the sound hole of the hearing device which can effectively prevent the cerumen ear wax from entering into the hearing device and cause damage to the hearing device. Replace the earwax filter every 3 months or when necessary. Do not reuse the used filter.
Care and Cleaning

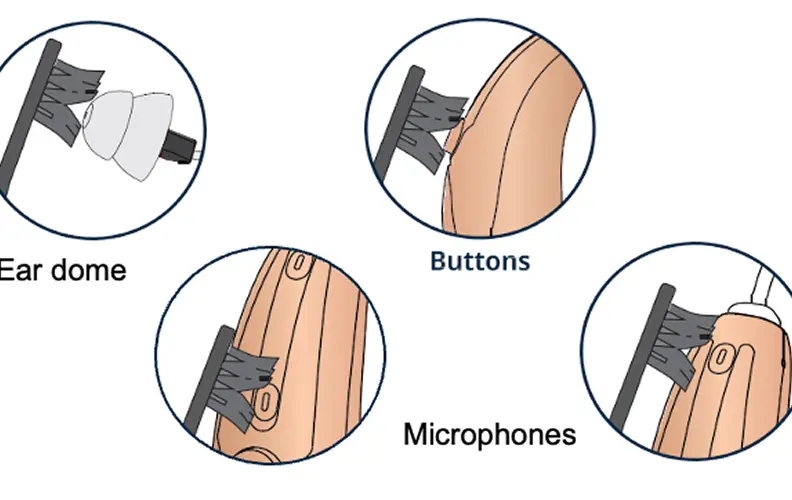
Daily Cleaning: Use the cleaning tool brush to remove dust, earwax, or other debris from the earplug ear dome, buttons, and microphones. The hearing device body can be cleaned with a dry soft cloth. Do not use water, alcohol, or other liquid agent to clean the hearing amplifier as it may damage it.

About Us

Discover our latest hearing technology that helps you enjoy life with renewed sounds.

Contact Us

WhatsApp to book an appointment with us.